
If you are looking for a close to zero operating cost vehicle, an electric-assisted bicycle (E-bike) might be just what you need. They can be relatively inexpensive with close to zero operating costs and is easy to maintain.
They are really no more than a regular bicycle with an electric motor and battery added. You can either buy one or convert a regular bicycle to electric. There are many styles of bicycles (commuter, fat tire, mountain, …) and each one could be electric. There are also two types of drive systems. One is a wheel motor, the other is a motor attached to the crank assembly. Each has advantages and disadvantages. This will be discussed below.
These systems are “electric assist”, not just electric. That is, the bicycle still functions as a normal bicycle but you can elect to add electric power to help you. This level of assistance is adjustable so some say you actually get more exercise because you know you can elect to have help when you need it.
Typical power levels for the motors are from 250 watts to 750 watts. If you live in a relatively flat area, a 250 or 350 watt unit is probably sufficient. Range is seldom a problem. Mine have 48 volt, 14 ampere hour batteries. Depending on the level of assist, the speed I ride and the terrain I expect to see a range from 75 to 200 kilometers. I say “expect” because I have never traveled anywhere close to that distance between recharges.
That battery is less than 700 watt hours so a recharge from dead to fully charged amounts to less than a kilowatt hour of energy. At about $.15/kwh here, that is about as close to free as you can get.
Wheel Motor Drive
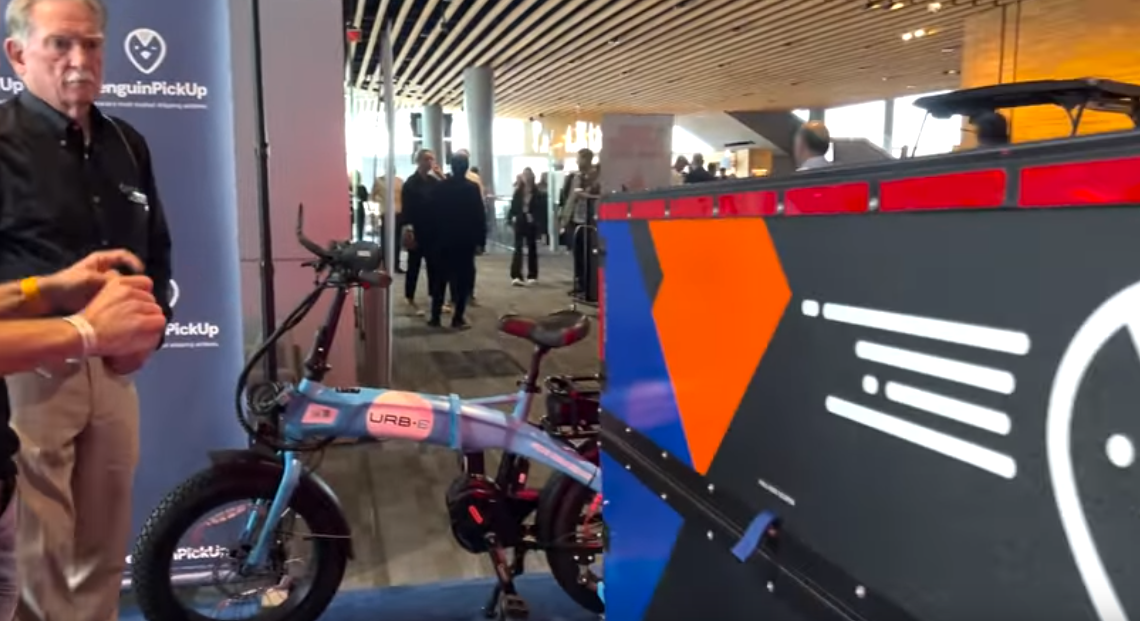
This is where a motor is placed in the hub of a wheel — typically the front wheel. A cable exits from the axle to connect to the controller. This is the most popular configuration for commercial electric bikes. If you are converting a regular bike to electric you just buy a new wheel of the correct diameter (for example, 26 inches) to replace your current front wheel. You either replace the right handlebar grip with a twist throttle like that of a motorcycle or add a thumb throttle. You run wiring along the frame from the wheel and throttle to a controller box which you mount on the frame. Finally, you mount a battery on the frame and connect it to the controller.
The wiring is a bit more complicated than the crank drive system but not really bad. The only real downside is that it is harder to fix a flat front tire because of the wiring. If you are doing the conversion yourself you may also want to add a torque arm to the front wheel to prevent the axle bolt from rotating.

Crank Drive

Batteries
Batteries for these systems generally are mounted on a frame tube. Typically they include the mounting hardware and a charger.

My Bicycles
The two bicycles in the top photo are mine. Both are ordinary bicycles that I converted to electric. The black one was a new “inexpensive” bicycle, the turquoise one was bought used from a bike shop who imports used bikes from the U.S. and repairs them. My daughter says the turquoise one is hers but I disagree. in any case, the black one has a front wheel motor and the turquoise a crank motor. Here are some more details.
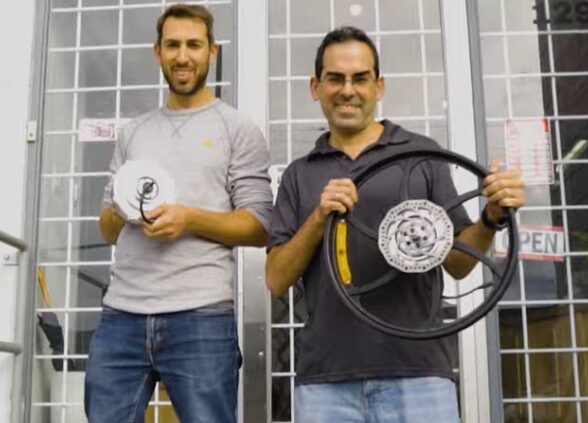
 This is a close-up of the crank motor. To install you remove the standard crank mechanism (my motor came with the tools to do this) and bolt on this one. All the cables came with connectors so it was just a matter of plugging in the rotation sensor cable, cable to the display panel and connecting it to the battery. I then “organized” the cables with cable ties (also included). The kit also included a new chain wheel for a slightly different gear ratio.
 The display shows speed and distance traveled as well as battery status. With the buttons you can change how much “help” you get from the motor. In turbo mode I easily and quickly got it up to 27 kph.
 Here you can see the optional thumb throttle. The sensor system that determines how hard you are peddling works quite well so this really is optional.
 The bike with the hub motor has no fancy display. The red button turns the motor on and off, the lights show the battery status and the hand grip rotates like on a motorcycle for the throttle.
 This is the hub motor on the black bike. You can see where the cable exits the hub through the axle.
 This is the controller for the hub motor system. (The controller is built into the motor assembly on the crank motor.) It was “temporarily” mounted with zip ties a couple of years ago. Yeah, I will fix that real soon now.
 This is a typical battery. There is a mount which can be attached through the water bottle bolt holes in the frame. The battery then slides into the mount and can be locked with a key. This is handy both for preventing theft and so that you can take your battery inside to charge it.

One thought on “Electric Bicycles”